What “Advanced” online options are available?
If there is an open JS library for it, then it can be imported into PsychoPy and used on pavlovia. This allows a broad range of possibilities for making exciting online studies. You don’t need to be a pro JS coder to use these. Several basic demos are available and a key skill is knowing how to adapt and use these demos. In this exercise, we will focus on how to adapt the eye-tracking demo available on pavlovia.org, which uses the webgazer package for eye tracking.
What “Advanced” online options are available?
Some of the tools we can use online:
- Eye tracking
- face expression and landmark detection
- voice transcription - though do set up your google speech api key! (here is a YouTube video)
- Your device sensors such as the Gyroscope
Exercise
In your breakout rooms work through this stepby-step guide to implement some adaptations to an eye tracking demo. This builds on the skills we learned from Mouse tracking.
Exercise
Step 1: Download the demo
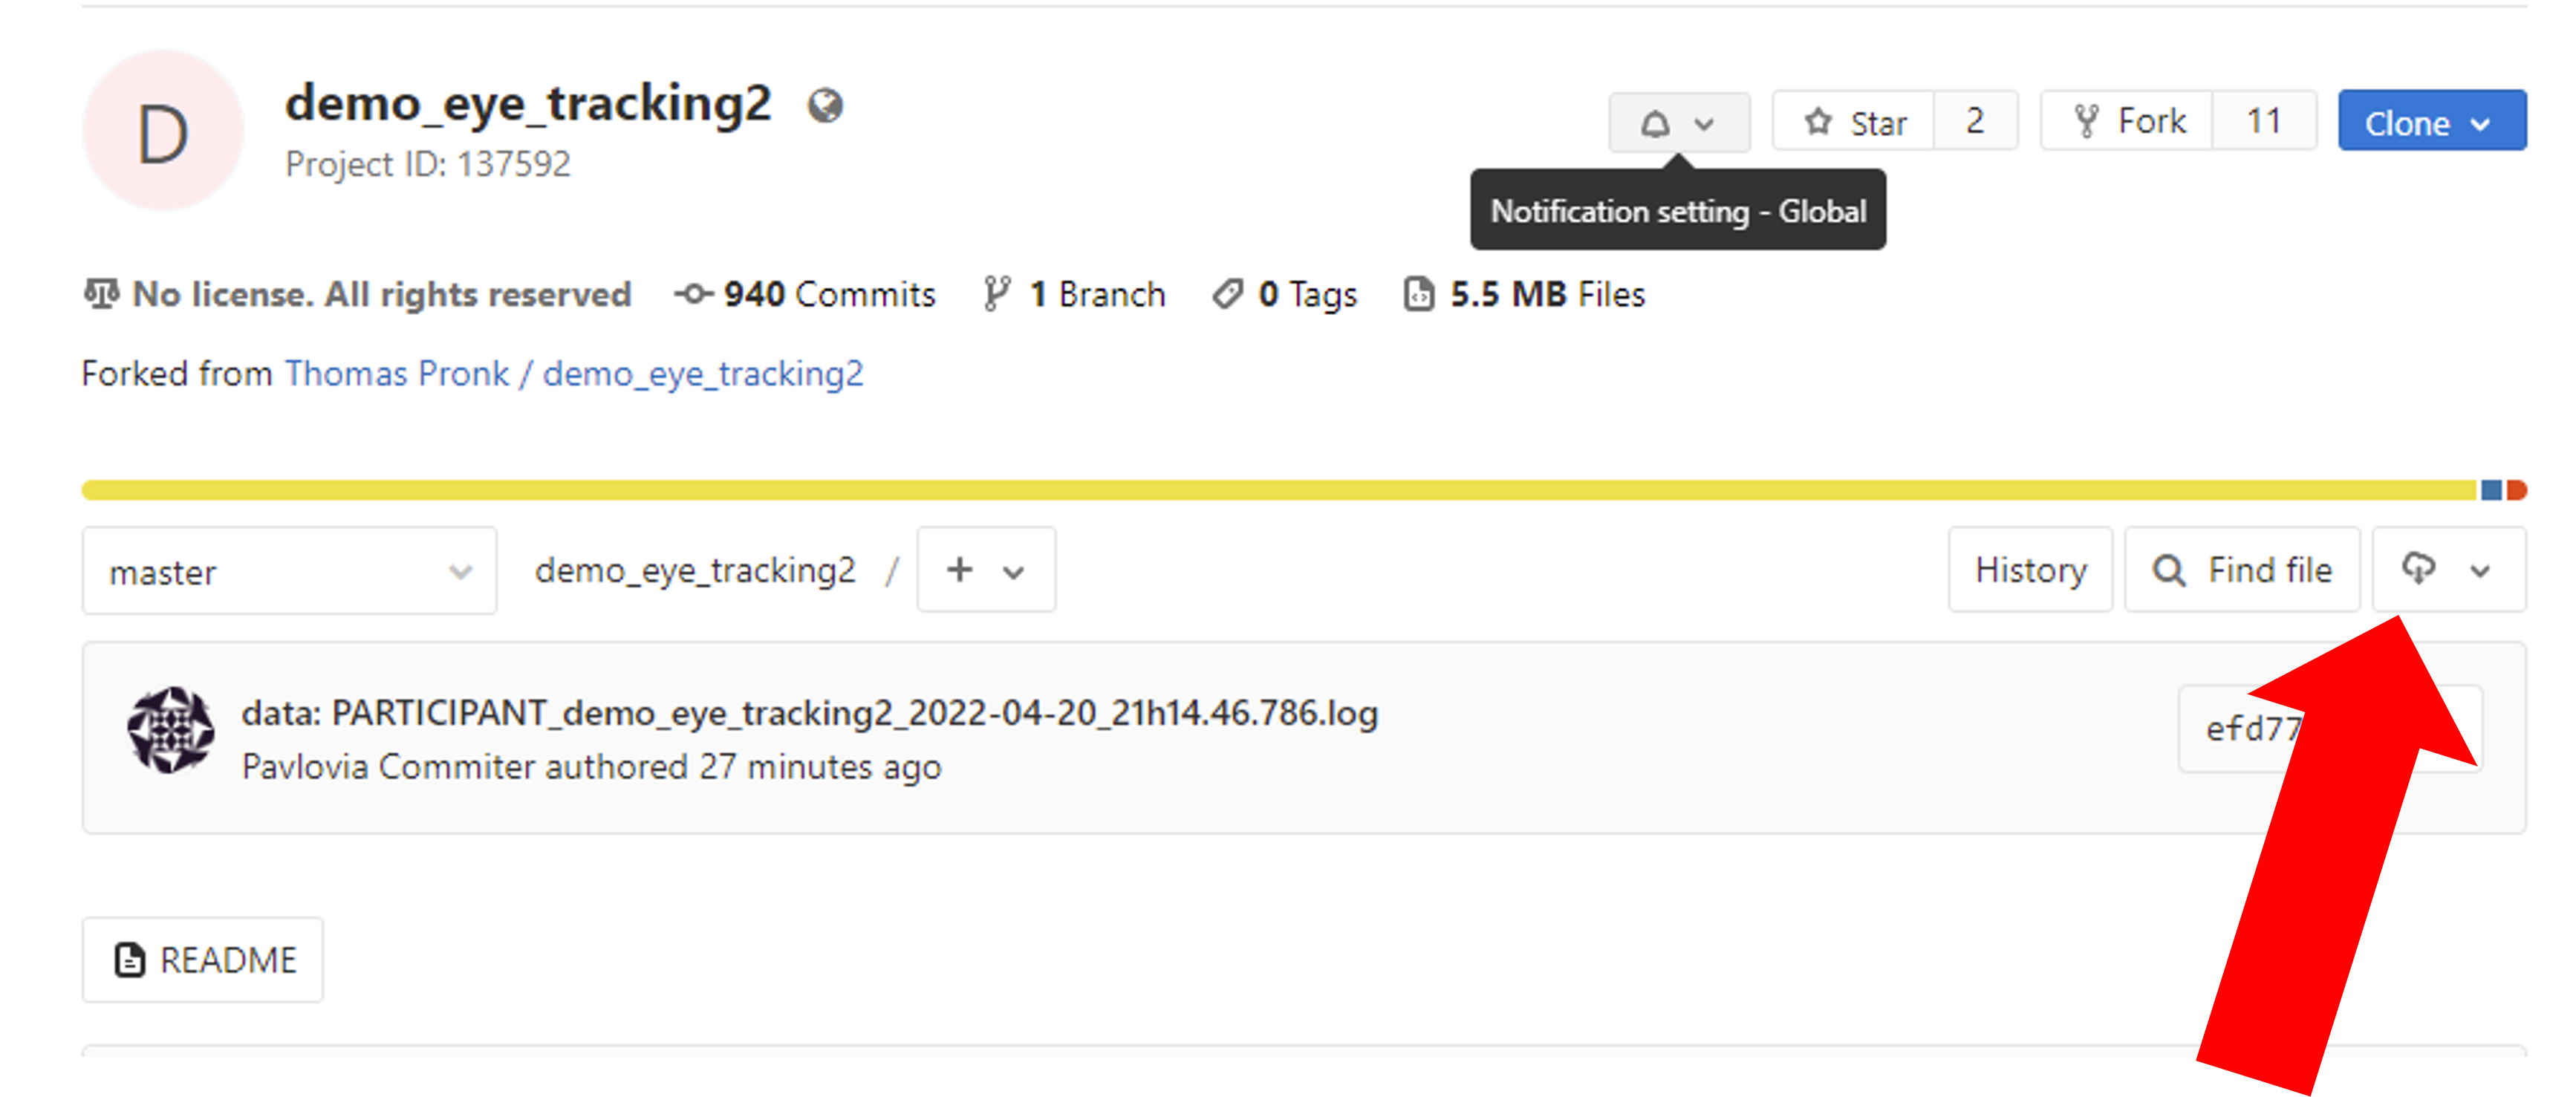
Go to the demo and click “download”.

Exercise
Step 2: Making local edits
OK so now we have our own copy of an eye tracking demo! Let’s make some edits! An important part of this exercise is that we don’t need to know JS in order to use this demo, we just need to know how to navigate code and what is possible. We are going to adapt the ‘tracking_trial’ routine .

Exercise
- Add a polygon component to the ‘trackingTrial’ routine and position it in the top right corner of your screen, set it to appear for infinite duration.
Note
Because this uses Javascript code, your local psychopy won’t run it. So, to check your changes have been made you will need to sync it and run it in the browser from pavlovia.
Exercise
- Add a code component called ‘checkTarget’ to the ‘tracking_trial’ routine. In the each frame tab write:
if polygon.contains(tracking_square):
    thisCol = 'red'
else:
    thisCol = 'white'
Exercise
- Right click your ‘checkTarget’ component and select ‘move up’ so that it appears above the polygon in the routine.
- In your polygon component. Select Appearance> Color and set the color field to read
$thisColwith the field set to set every frame
Exercise
- Sync it online – see what happens! Your polygon should change colour when you look at it.
Exercise
if there is time…
Ok imagine we want several trials, where each trial ends when the participant looks at the target.
- Make a conditions file that has one column for the x coordinate and one for the y coordinate of your polygon on each trial.
- Add a loop around the ‘tracking_trial’ routine and feed in the conditions file you made.
3. In your ‘checkTarget’ code component make the following edit
if polygon.contains(tracking_square):
    thisCol = 'red'
    continueRoutine = False
else:
    thisCol = 'white'
Additional links
- Archived (run on PsychoPy versions pre 2021.2): Examples using the Posner task, and another for tracking basic left right eye movements)