
Generating ‘standard’ paradigms in Builder is generally easier than writing the code yourself. Being able to write code helps you do things that a graphical interface can’t.
Go to the Builder view and open the Stroop demo. Take a look around.
As a first step to combining your code with a Builder is to compile a builder script to coder.
Compare this with scripts you’ve written:
much more code than we needed
start/stop each stimulus/component
determine whether all the components are finished (i.e. trial is over)
rather little re-use of code
Builder doesn’t know your intentions so plans for everything
Many similar concepts:
similar imports
initialisation of objects
creating a dialog box from a dictionary
TrailHandler(s) and ExperimentHandler
It can be useful:
to get ideas for how to do things
t is always the current time in sec since the start of the Routine
You could save and run this exported script (that’s what Builder does each time you press run).
You could tweak this code and see the effects your edits have on the running of the experiment.
If you do your changes will NOT be reflected back in the Builder experiment.
Hacking the script is useful to see how things work but it’s better to add your edits back into the Builder view.
Most dialog entries have the option to take raw Python code if you start your entry with $ (or have that by default).
You can use this as more than a variable from your conditions file e.g.:
set stimulus position to be $[ sin(t*2*pi), cos(t*2*pi) ] and set this to update every frame
set a text object to have text "ABC"[randint(3)] and have it update every repeat
NB. If you actually need a dollar symbol to be in your text, do one of: - $”You won $5” [include the quotes] - You won $5
Using code as arguments allows us to easily make stimuli ‘dynamic’ (i.e. things change their attributes in time).
e.g. our shape that tracked the mouse by setting the shape position to be mouse.getPos()
Handy side tip. If you want to see what properties and methods an object has, you can use a print() statement, e.g.:
print(dir(mouse))
If you want to learn more about a method in an object you can print the docstring for that method:
print(mouse.setVisible.__doc__)
Making things dynamic could allow you to, for instance:
gradually reveal an object
make an object move to make the task harder
make an object more interesting for participants (e.g. developmental)
Let’s create a task where text is gradually revealed (e.g. we want to control reading speed).
Think of a Routine like this:
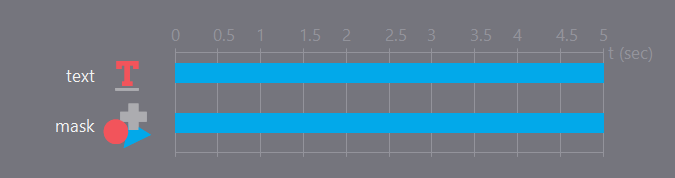
The text object could be any long piece of text. You might need to make sure the wrap length is set to be the full width of the screen to fit on one line.
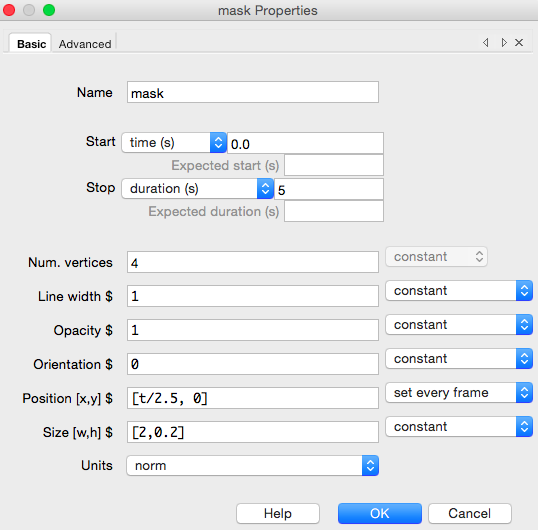
Your mask is a square that moves (note the size and the pos settings).
This goes to the next step in integrating code with your experiment
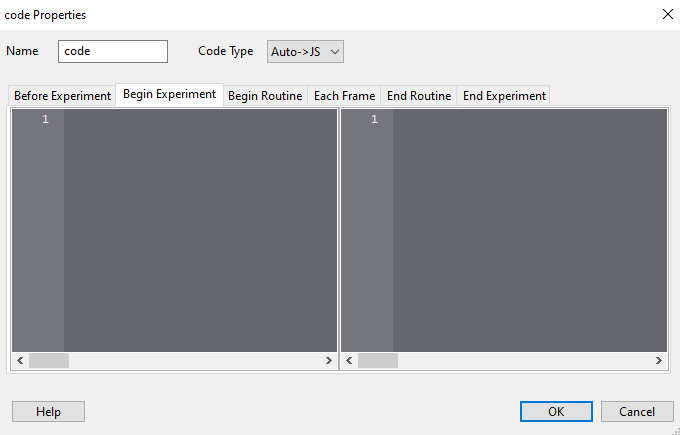
A Code Component allows you to add Python (and now JS) code at 6 different points in the script:
before the experiment
start of the experiment
start of the current Routine
every frame
end of the Routine
end of the Experiment
The order of execution is important.
Each entry of your Routine has multiple Components and their code /for each part of the experiment/ is run in the order of the components.
Do you want you custom code executed before or after your stimulus?
Add clocks and trial counters