Pavlovia is:
A secure server to launch and run experiments
An experiment repository
Pavlovia and the library used to run experiments in browser (PsychoJS) are relatively young (2018) - this means minor changes may occur as we develop and improve the platform (e.g. recently given option to not save incomplete data)
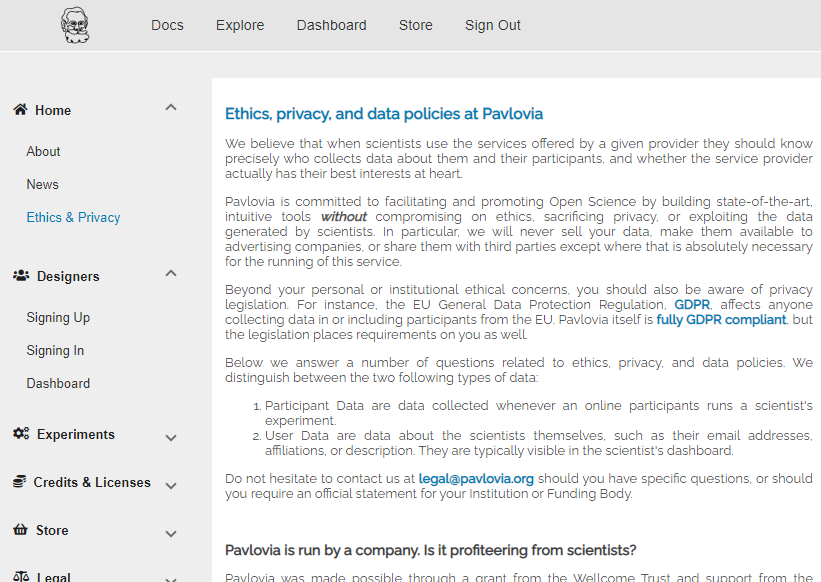
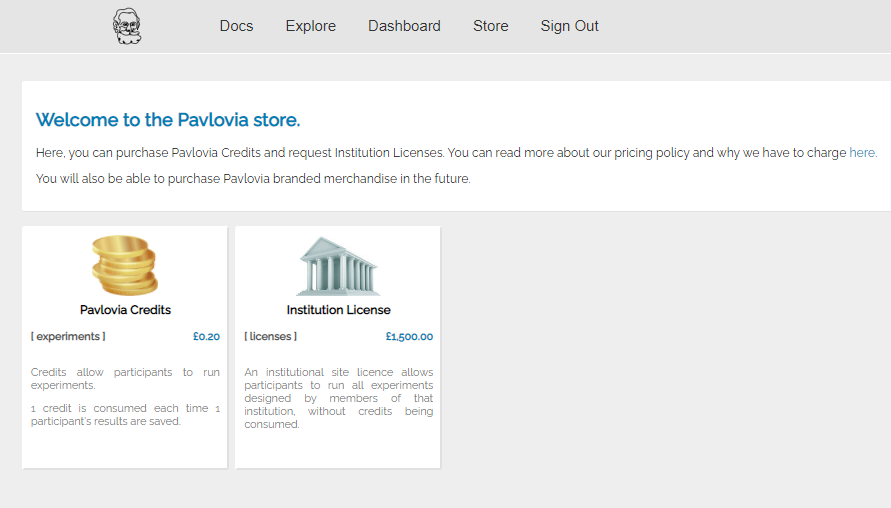
To learn more about Pavlovia we can use the ‘Docs’ tab.

Here we can find important information that might be needed for ethics applications, documents on how to use the site (“Experiments”) and info on credits and licensing.
PsychoPy is free. Using Pavlovia to share studies is free. Collecting data through pavlovia has a small cost (relative to commercial competitors). This cost is to ensure the sustainability of PsychoPy.
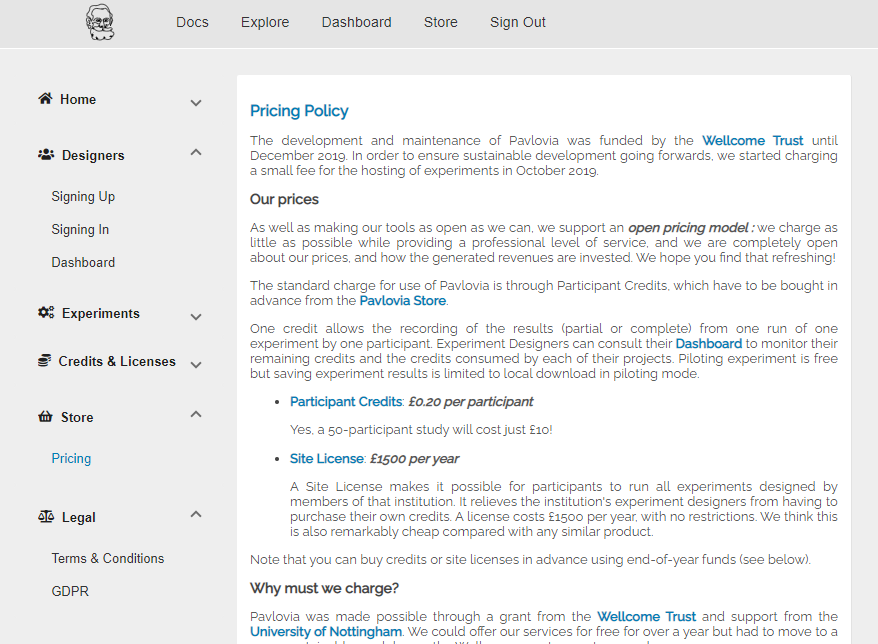
You can buy credits or site licences in the “Store” tab. Pavlovia accounts are free and you can pilot experiments for free.
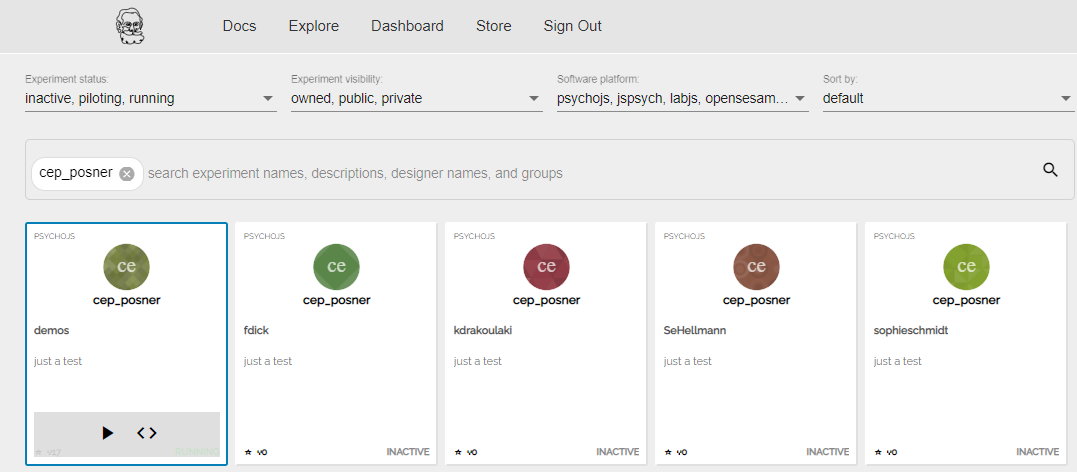
Here you can browse existing experiments. Try searching for an experiment in your field!
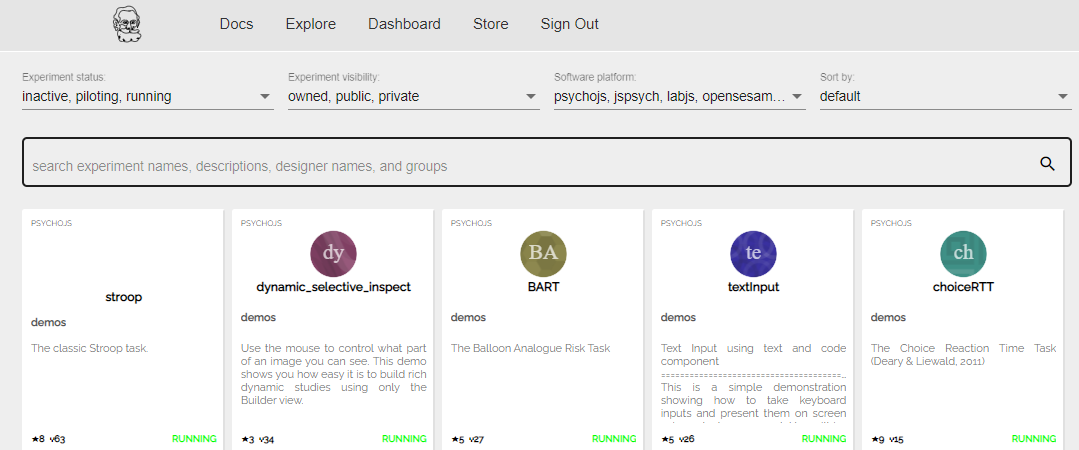
You can search a task, see what state it is currently in (Inactive, piloting or running), and either launch the task or take a look at the code, by clicking on the <> symbol.
Note
Pavlovia is another good place to start if you are looking to create a task that might already exist (in addition to the demos in PsychoPy!).
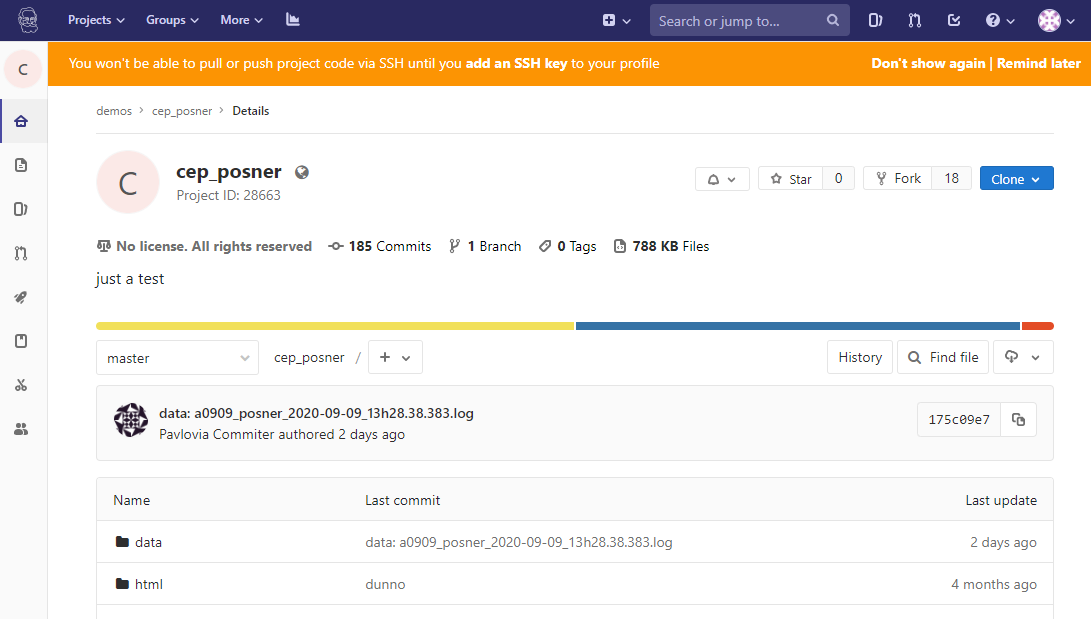
Viewing the code will take you to “gitlab”. This allows similar features to GitHub (if you want them).
Fork existing projects
Version control
Add lab members to projects to work on the same files
Easy sharing of your task (open science)
If you find an experiment you like using ‘explore’ you can open the gitlab page by selecting ‘View code (<>)’
You can then fork that to make your own copy of the project to work from (you can make a copy for your own ‘namespace’ or add it to a group).
If you really like the task, give the original poster a star too!!
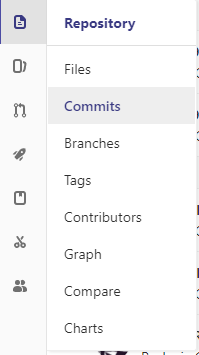
You can see when the last changes were made to the task by looking at the commit history
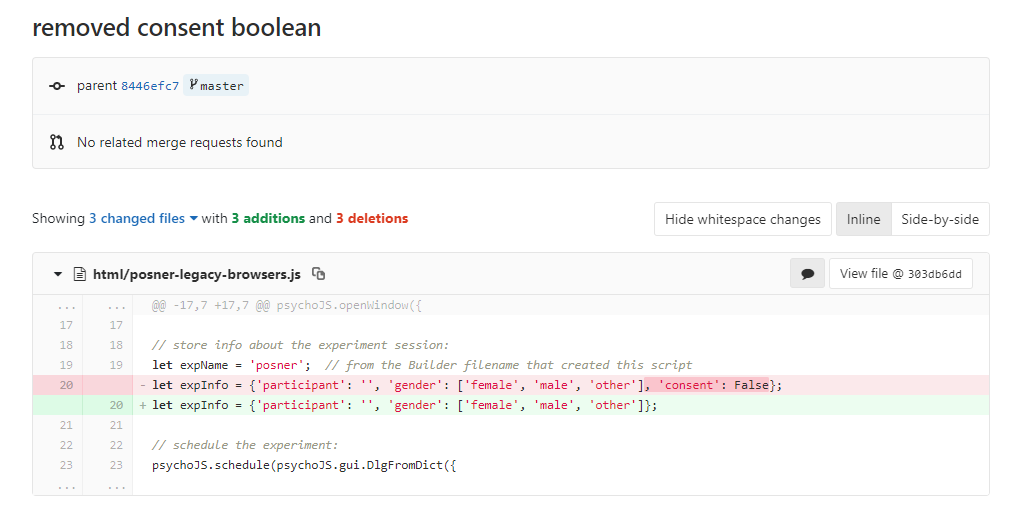
If you click on the change you can see deletions (in red) and insertions (in green)
You can browse the repository at that point in history:
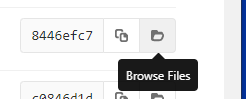
Imagine you have a working task, you then make a bunch of changes, and it doesn’t work. If you commit little and often you can easily revert those changes.
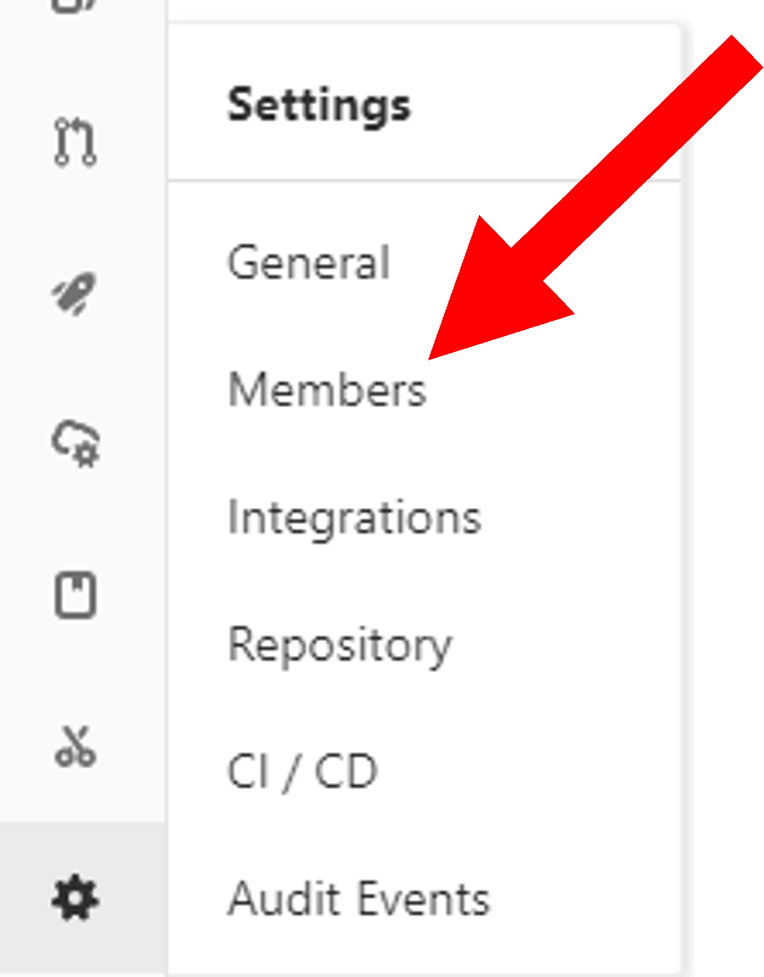
To add members to your own project, you can use the settings>members option where you can search and invite collaborators.
Note
You can also make ‘groups’ inside gitlab
You can change the visibility of your task at any time under permissions.
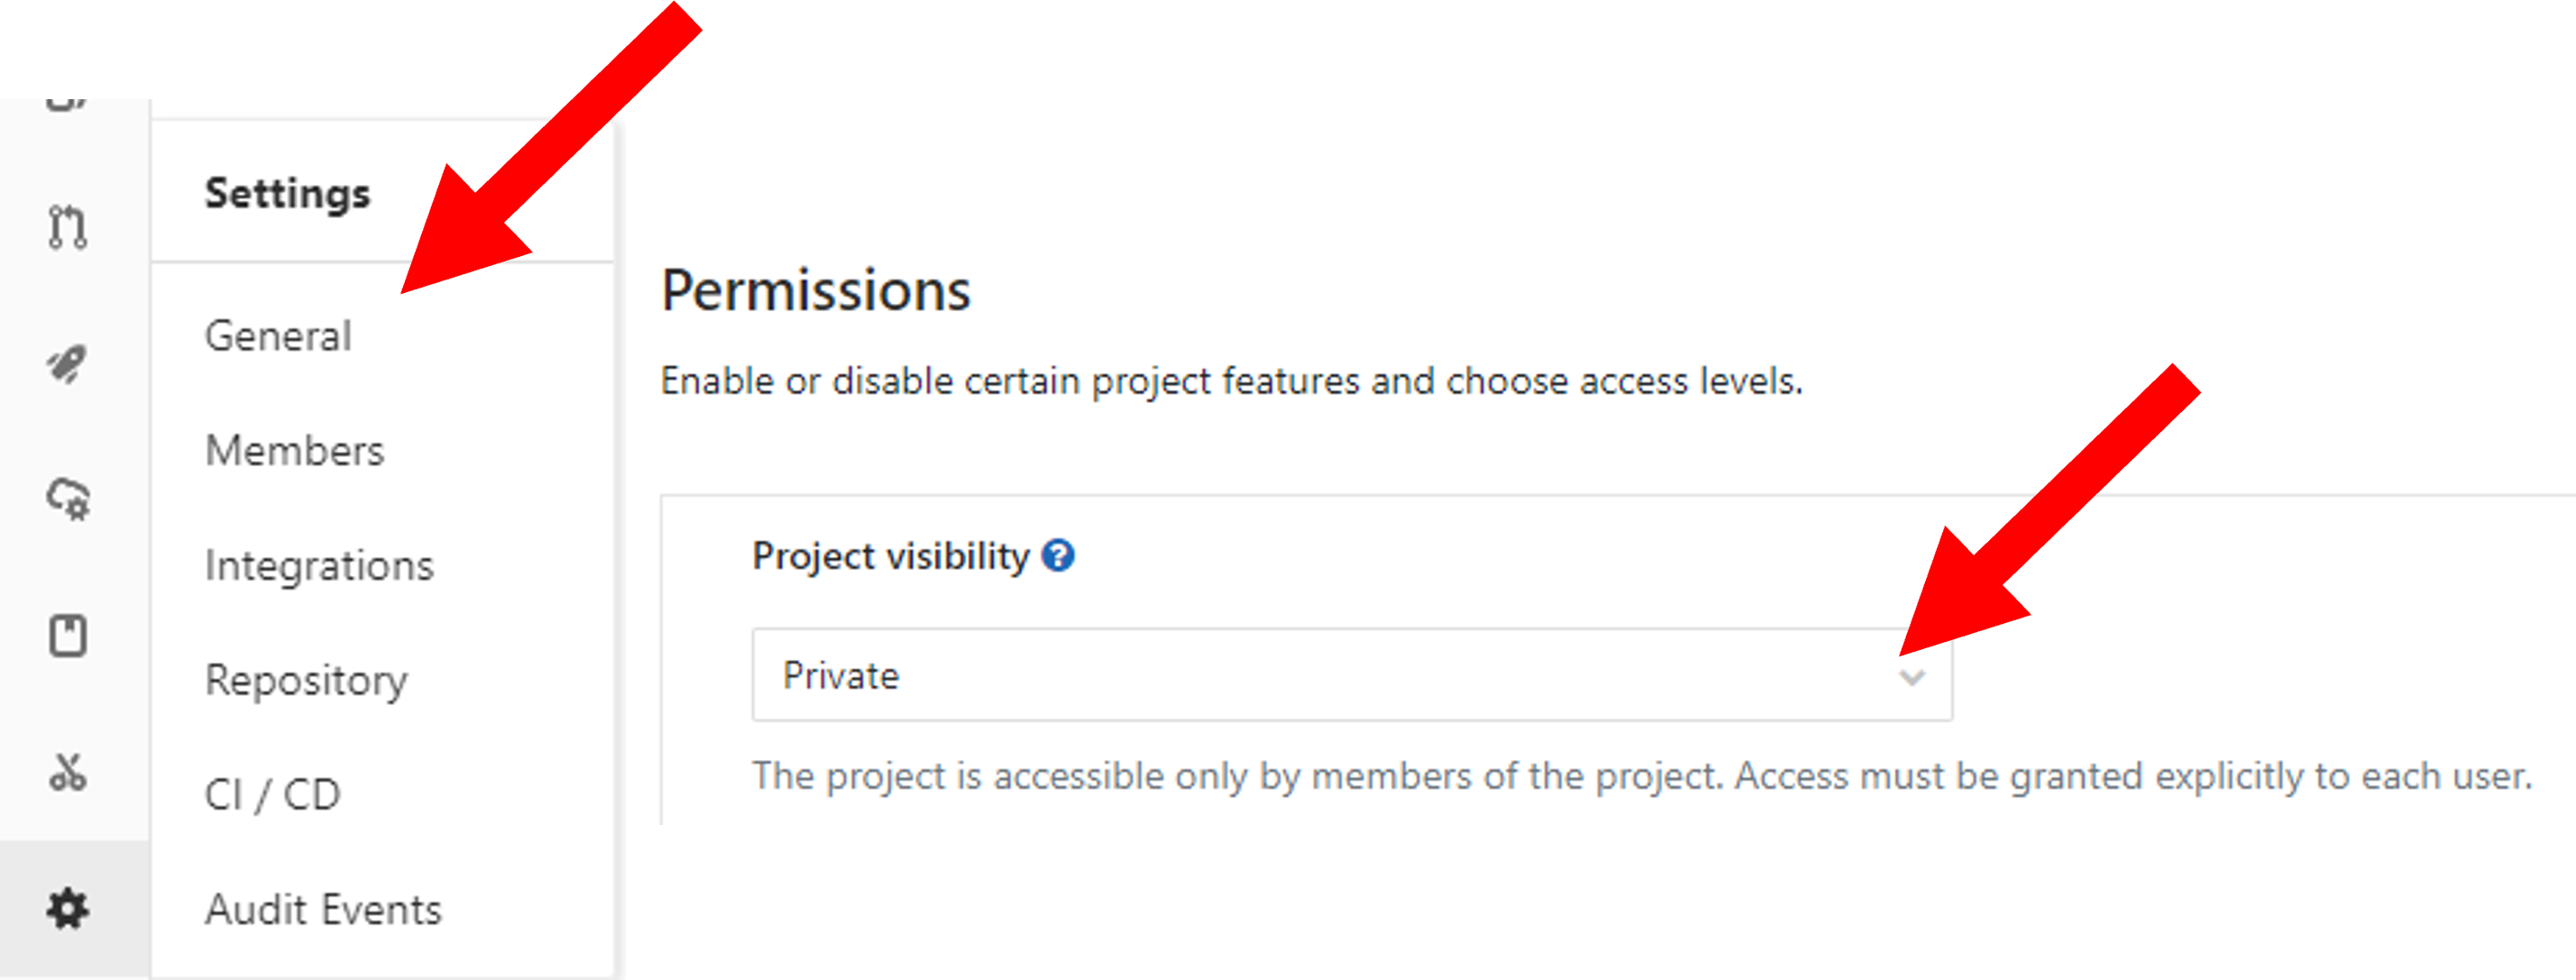
Note
good as allows easy data sharing
Something to bare in mind if you are collecting protected data
Let’s get some practice using pavlovia.org!
in your breakout room make a group for you to share something.
try forking a task you like (hint: those in the ‘demos’ group can be useful)
try searching that project from your local psychopy
make a small edit
upload and see if the change shows on gitlab!
NB. don’t forget to give stars to the projects you like! this could help future researchers picking tasks!
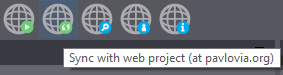
To load the task to pavlovia.org we can either use the “run online” or the “sync to pavlovia” icons. The former will then try to run our task in the browser. For now let’s use sync.
Next we create a pavlovia project, select what group we load the project to and add details on the task.

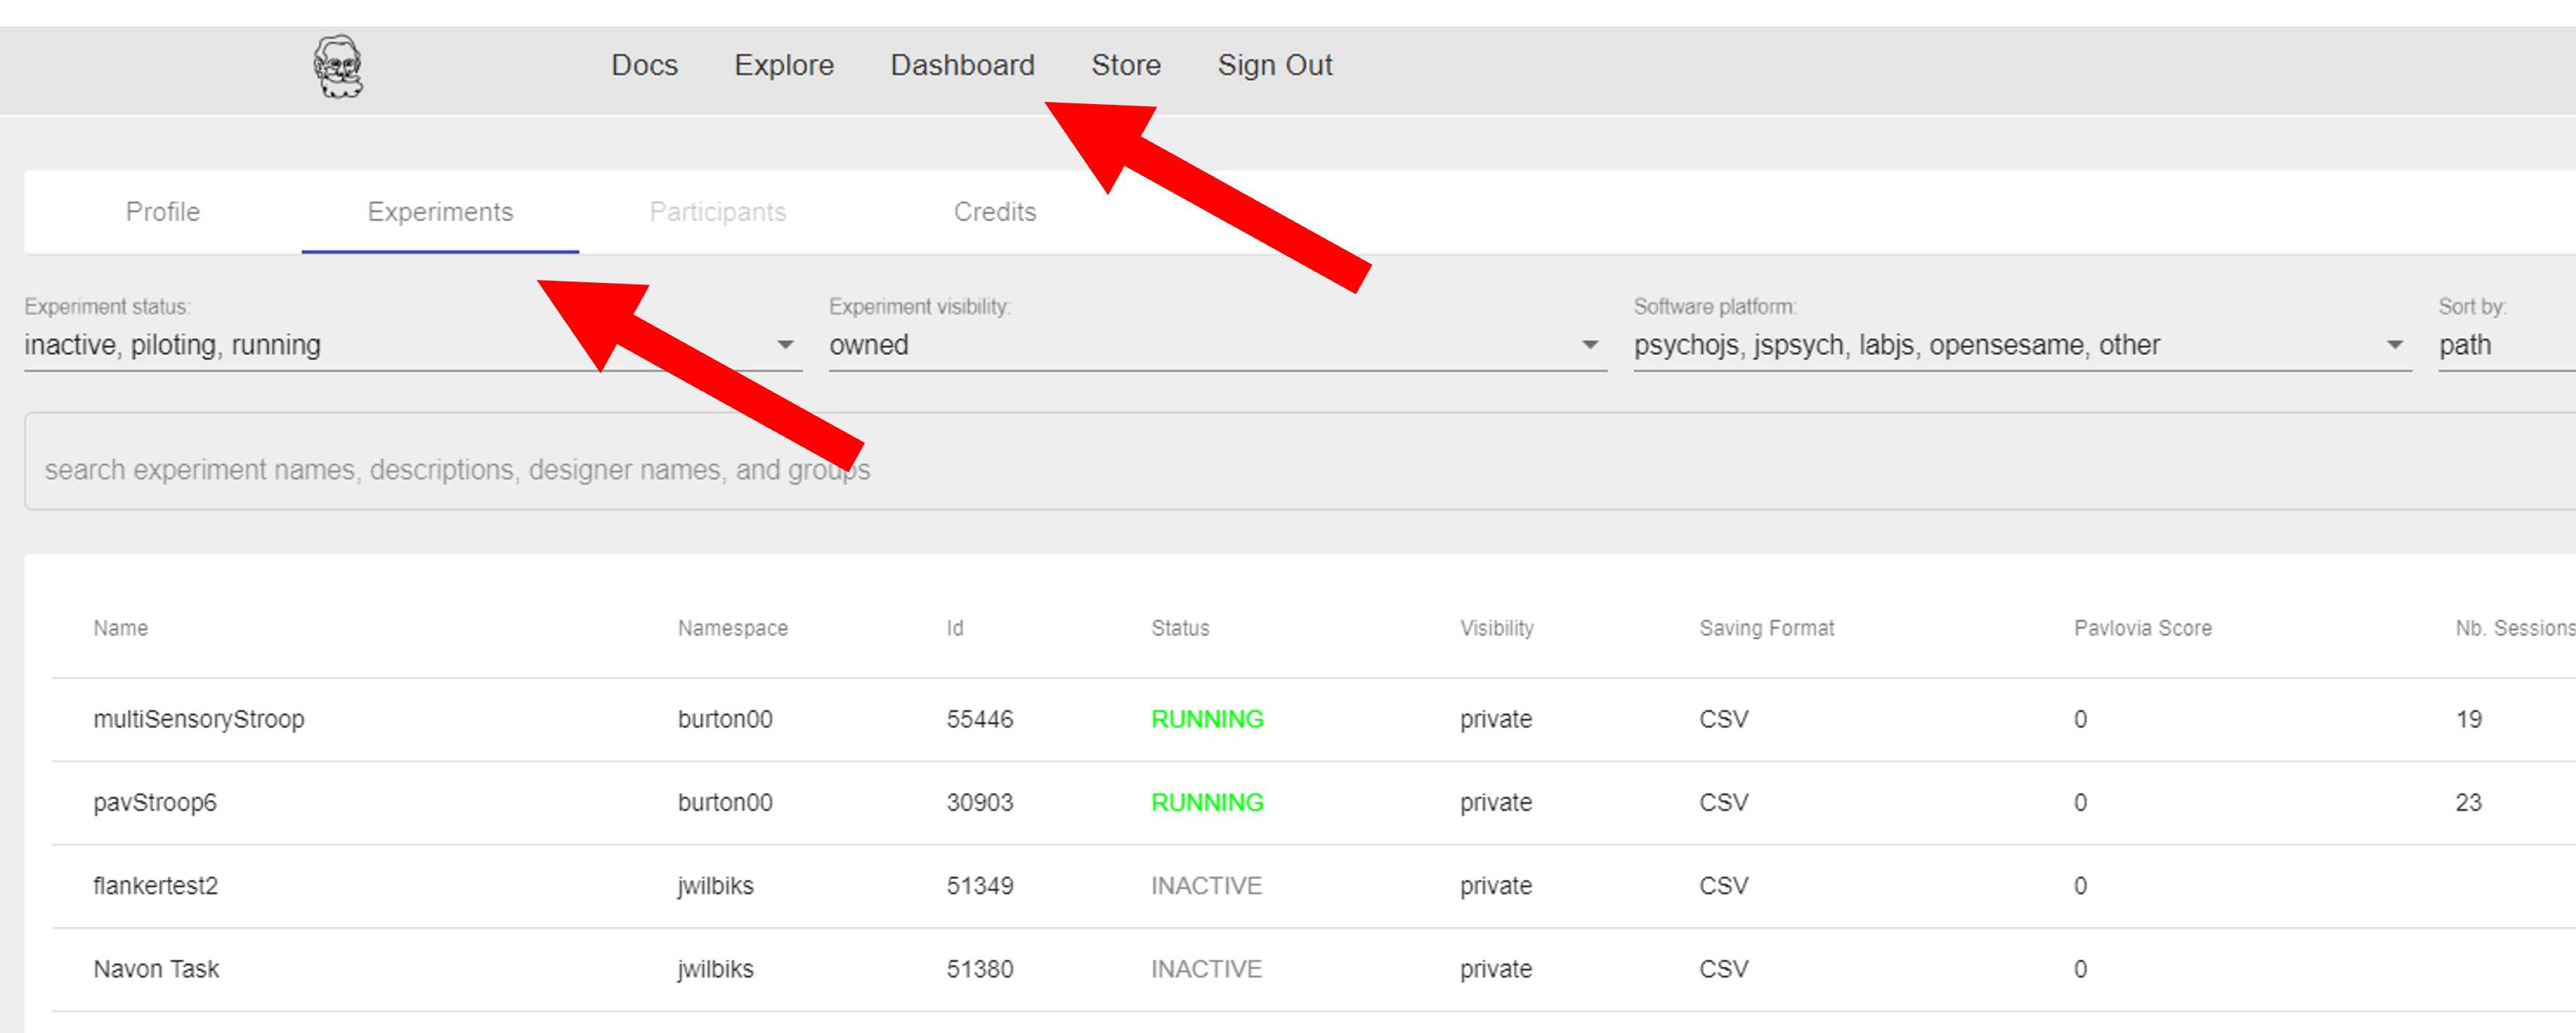
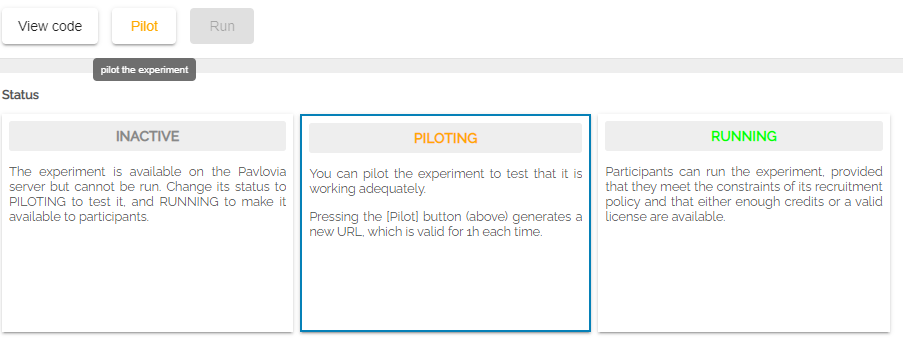
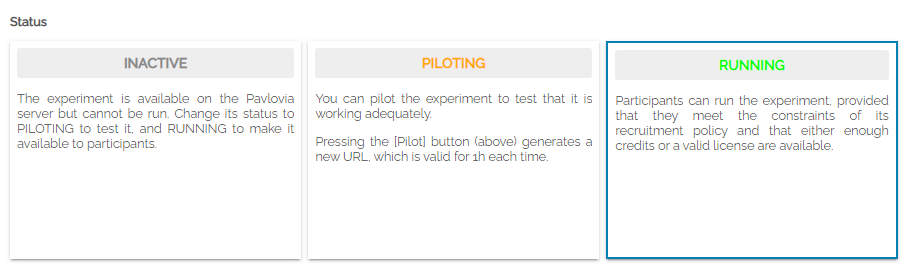
If we then go to our Experiments in the pavlovia Dashboard, we should see our task uploaded. We can see that currently it is inactive, change the status to pilot and then click “pilot” next to the View code option.
By clicking on one of your experiments, you can see the details of that project, set the state of your experiment and access the data.
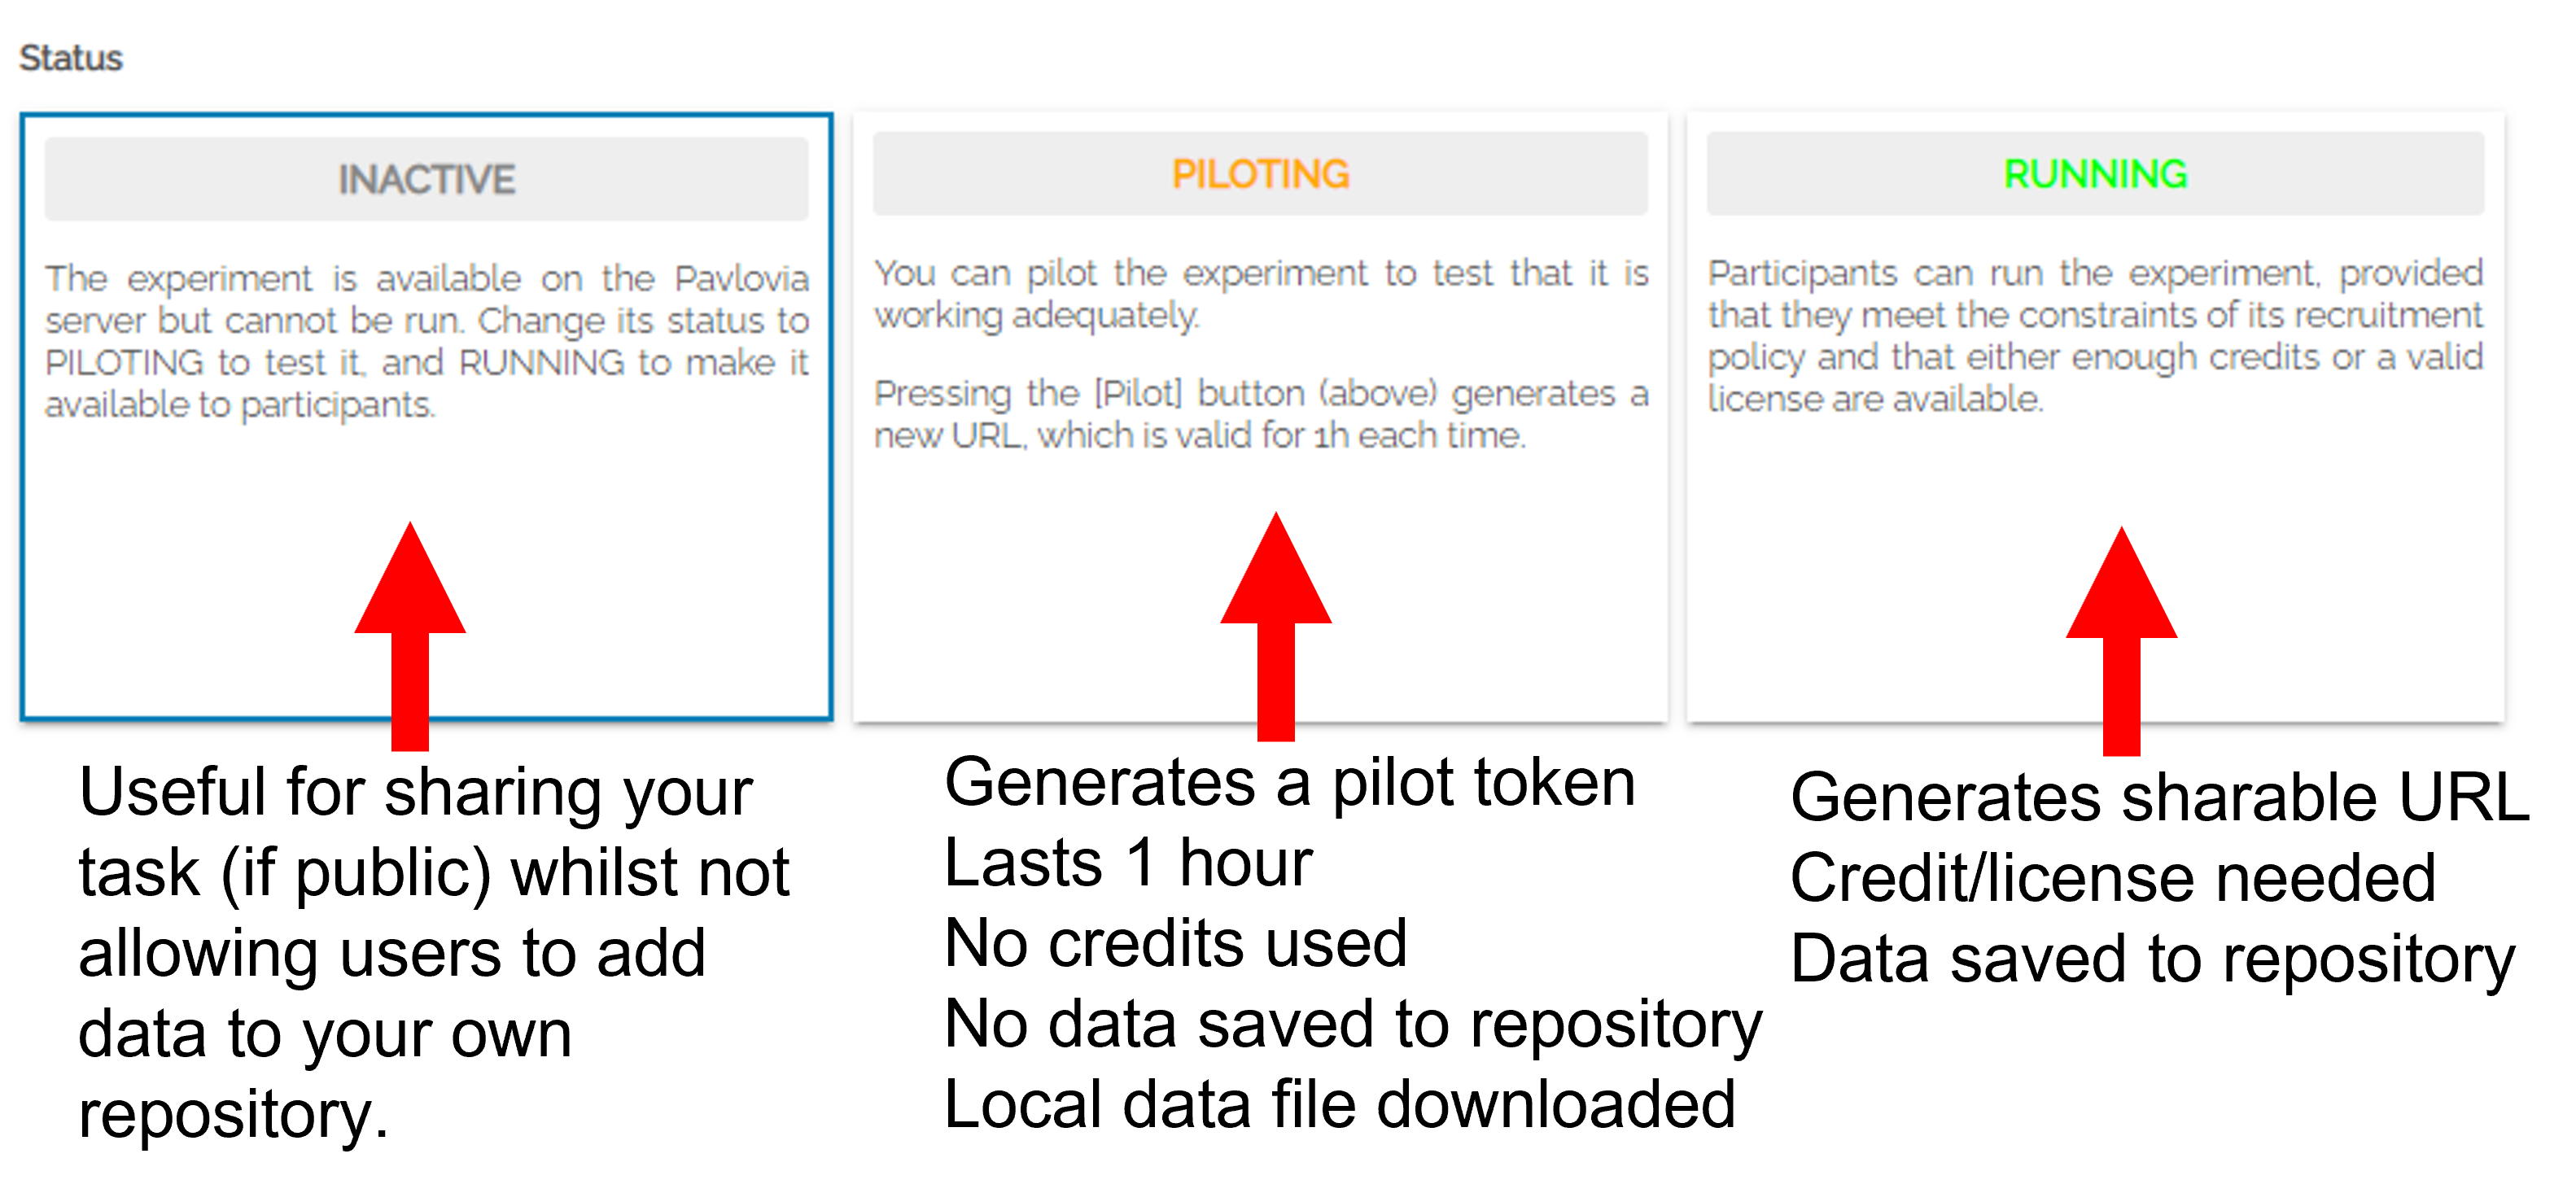
you can share that URL for 1hr to try the task.
you will get a pilot .csv data file.
Setting your task to “Running” will create a URL under the “recruitment” tab which will allow you to share and run the task!
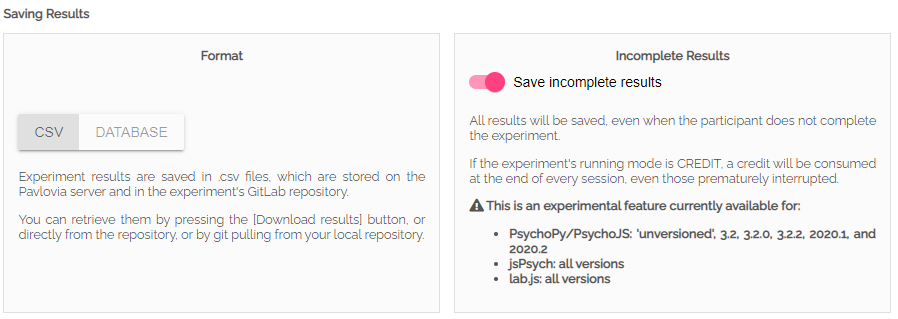
You can save your output as .csv files or a database. You can also decide if you want to save incomplete results or not.
In reality, things may not always translate online smoothly (but we are working on it!).Let’s talk about how to get online confidently and some tips for translating experiments online in Debugging online