Pavlovia is:
A secure server to launch and run experiments
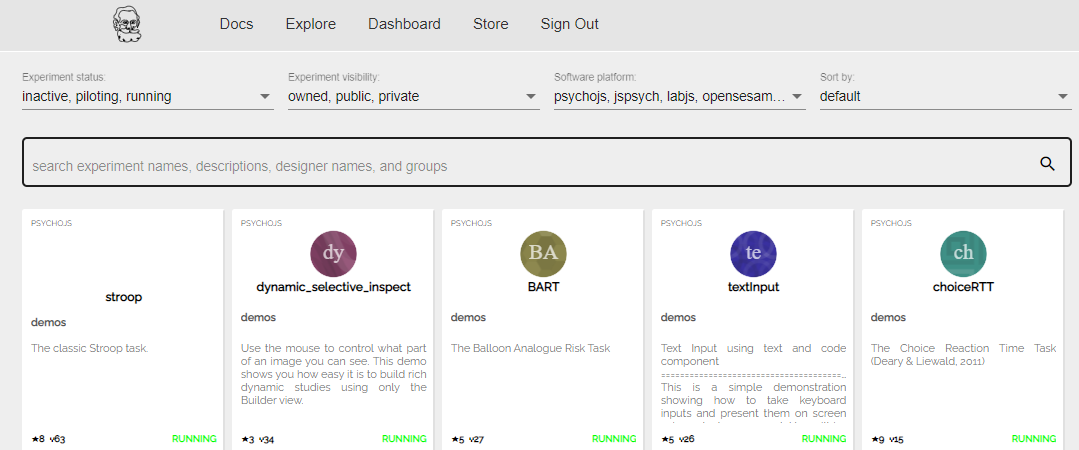
An experiment repository
Pavlovia and the library used to run experiments in browser (PsychoJS) are relatively young (2018) - this means minor changes may occur as we develop and improve the platform (e.g. recently given option to not save incomplete data)
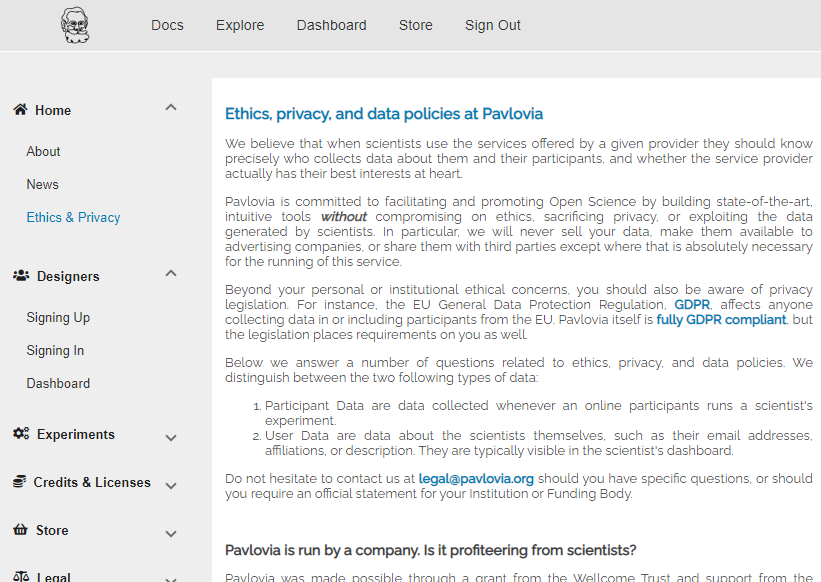
Here we can find important information that might be needed for ethics applications, documents on how to use the site (“Experiments”) and info on credits and licensing.
This is where you will probably spend most of your time. You can view your experiments, check if you have credits etc.
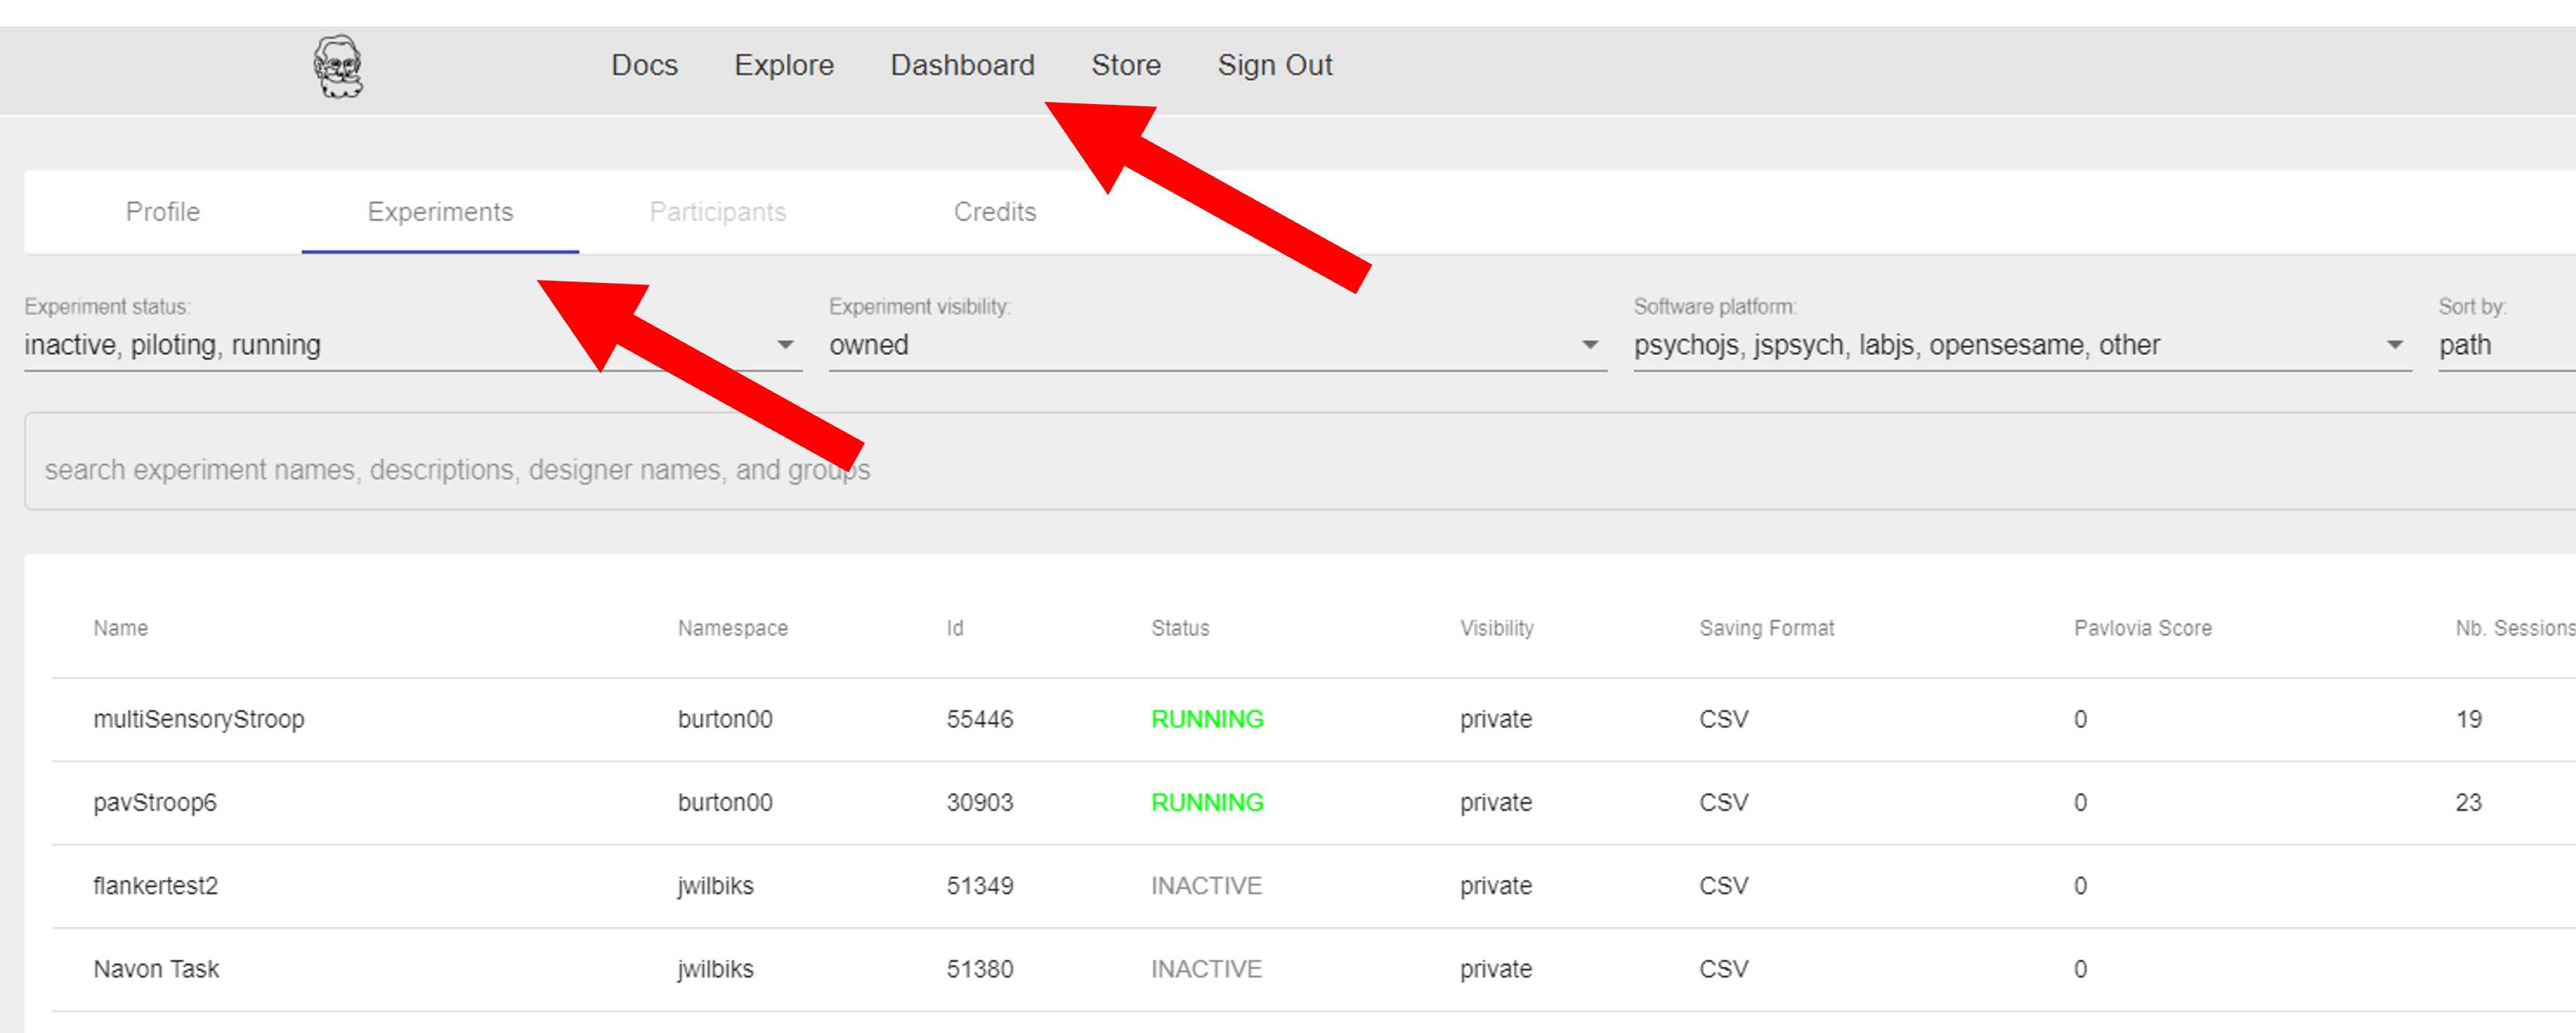
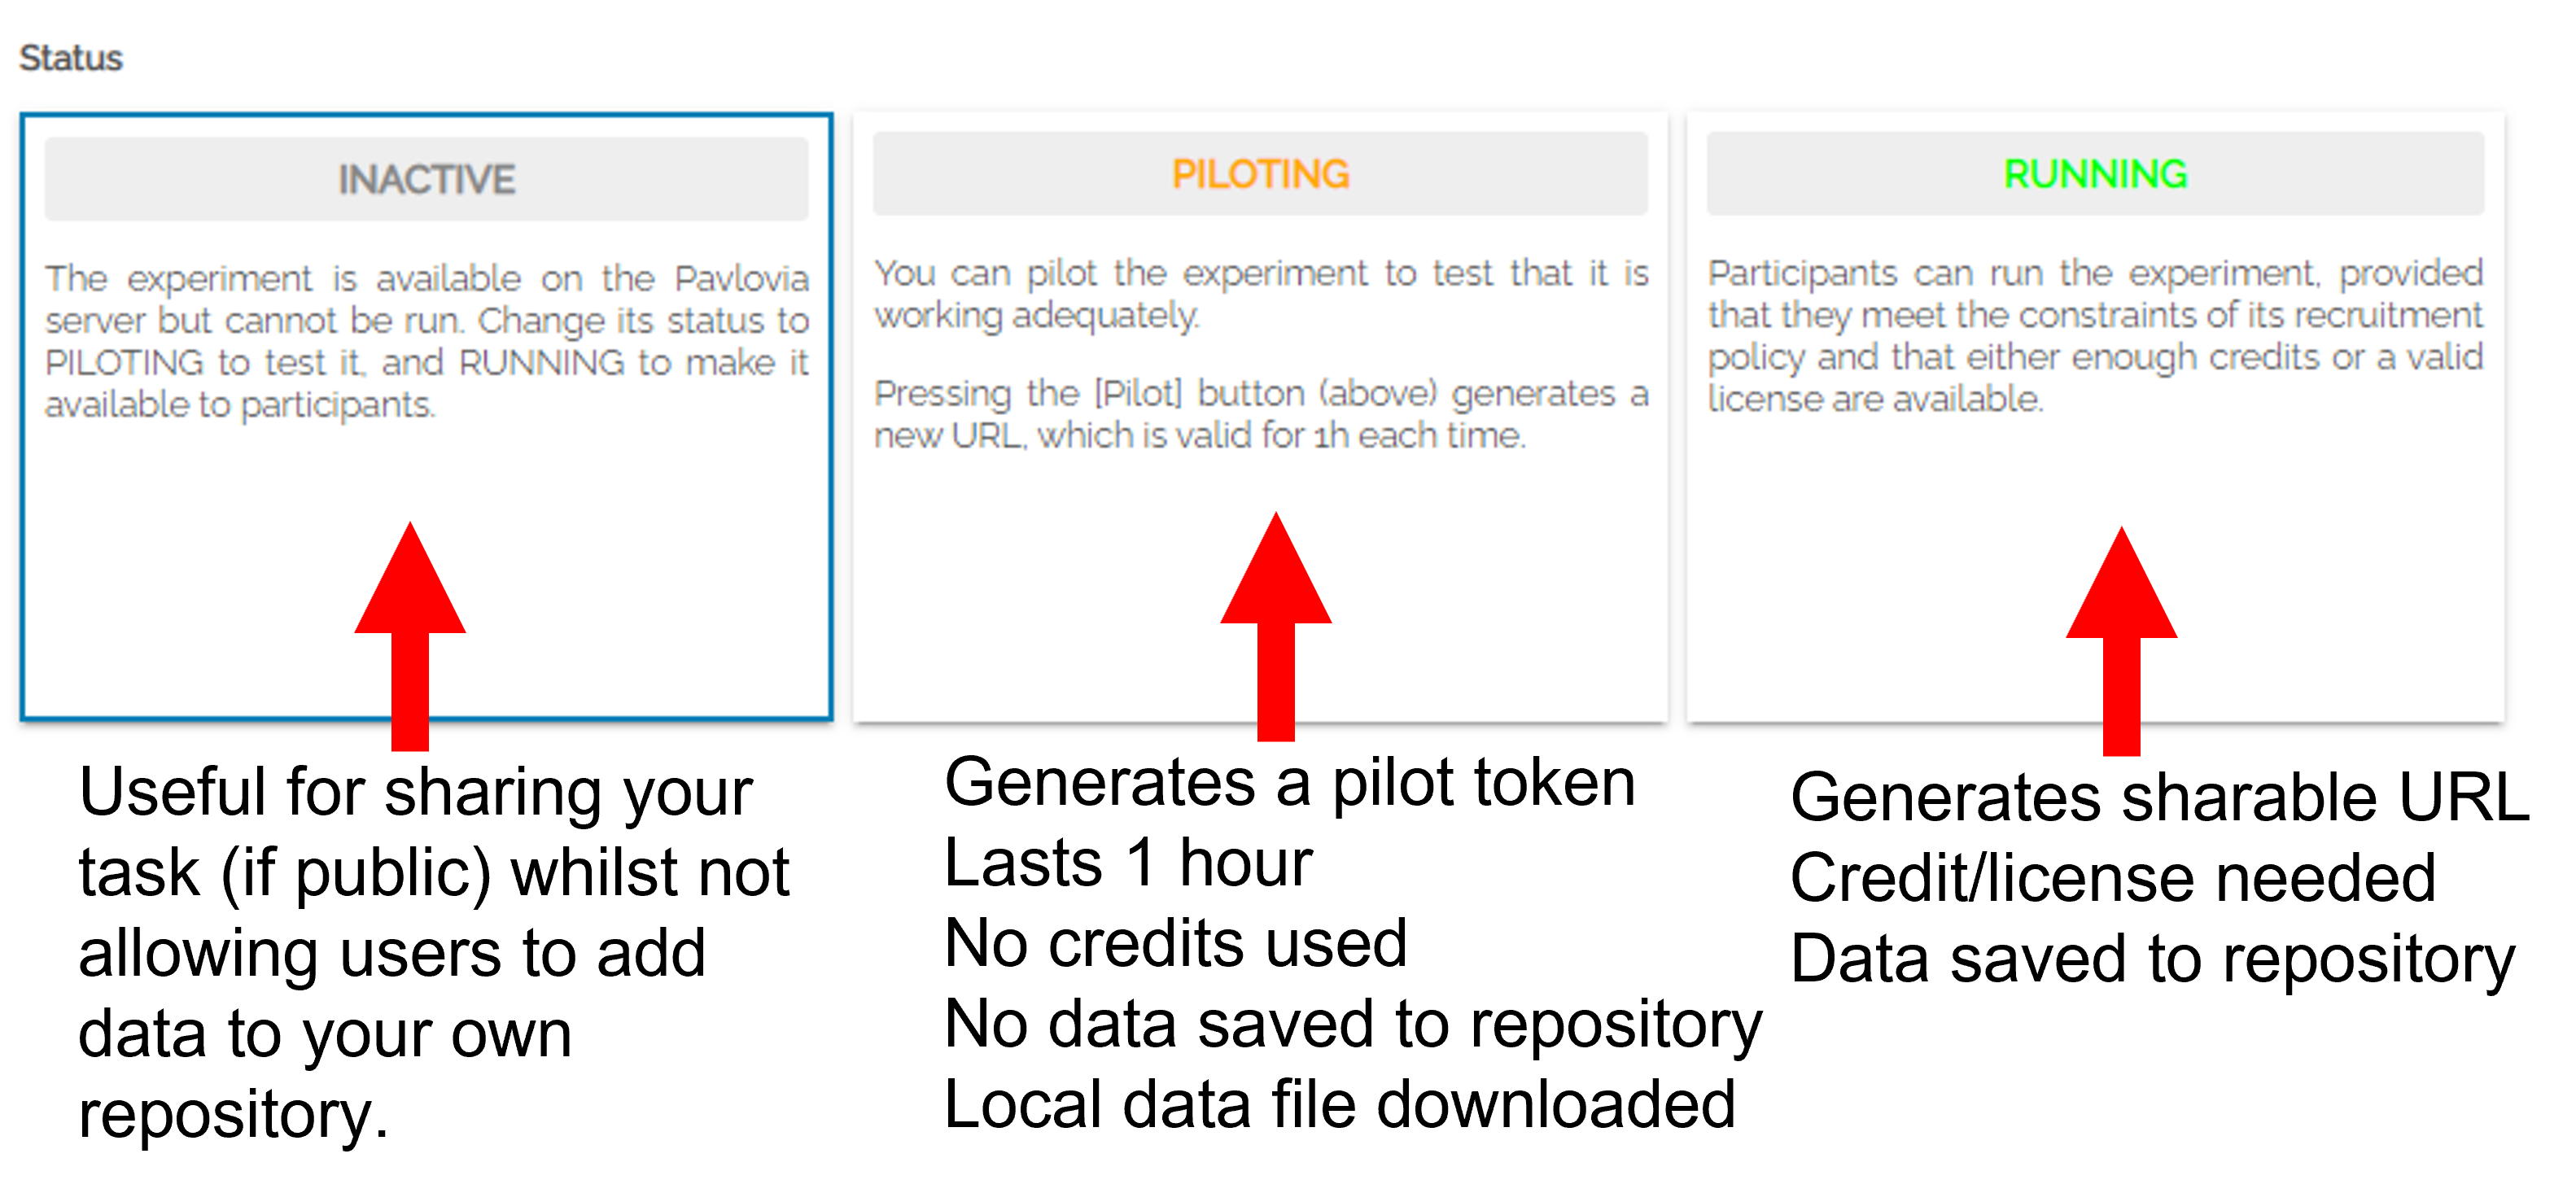
By clicking on one of your experiments, you can see the details of that project, set the state of your experiment and access the data.
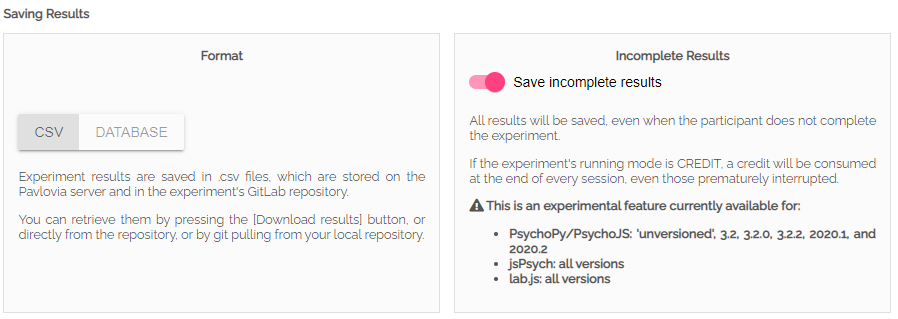
You can save your output as .csv files or a database (data bases will not be shown on your gitlab page). You can also decide if you want to save incomplete results or not.
Benefits of GitLab (the important bits):
Version control
Add lab members to projects to work on the same files
Easy sharing of your task (open science)
Others can fork, use and develop your task (more citations?)
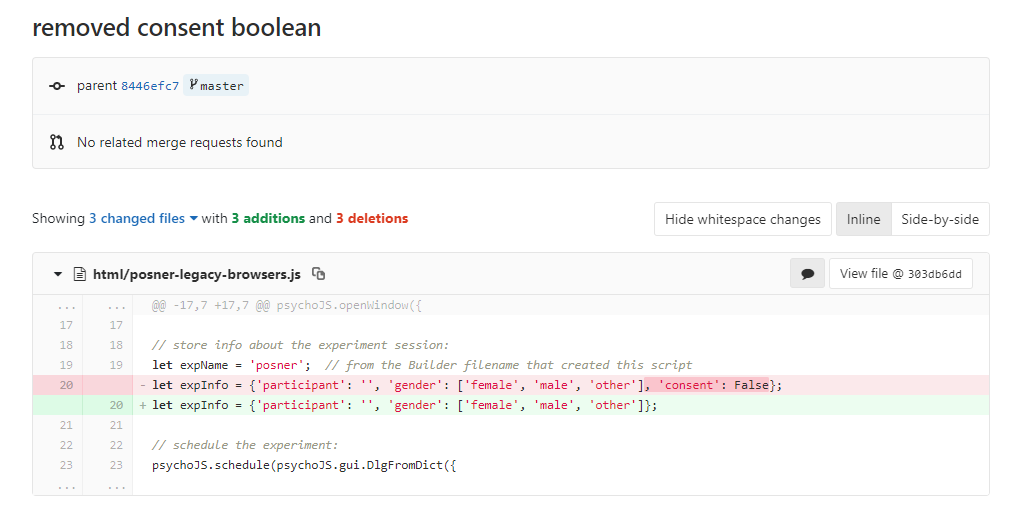
You can see when the last changes were made to the task by looking at the commit history and see deletions (in red) and insertions (in green)
If you find an existing experiment you like you can make yourself a copy by forking, either locally from PsychoPy or online.
To fork locally select the ‘search’ icon in builderview, search the project you want and select ‘sync+fork’
To fork online. From pavlovia, open the gitlab page by selecting ‘View code (<>)’.
You can then fork that to make your own copy of the project and copy it to your ‘namespace’ or group.
If you really like the task, give the original poster a star too!!
You can either add members to a single project, or you can create a group where you can share several projects
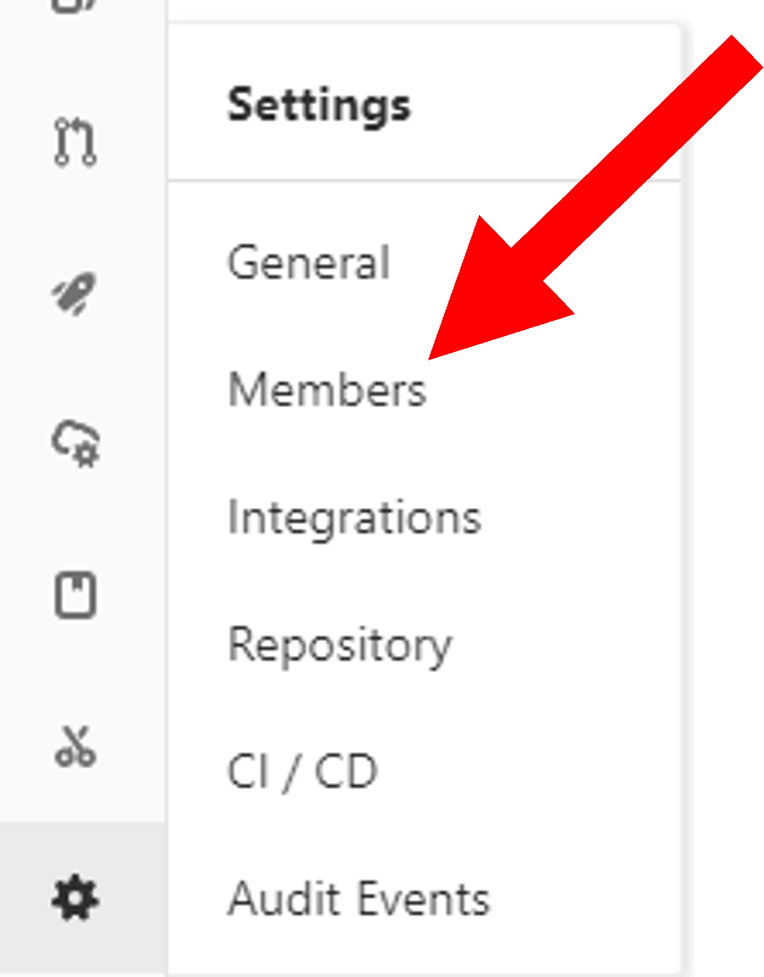
To add members to your own project, you can use the settings > members option where you can search and invite collaborators.
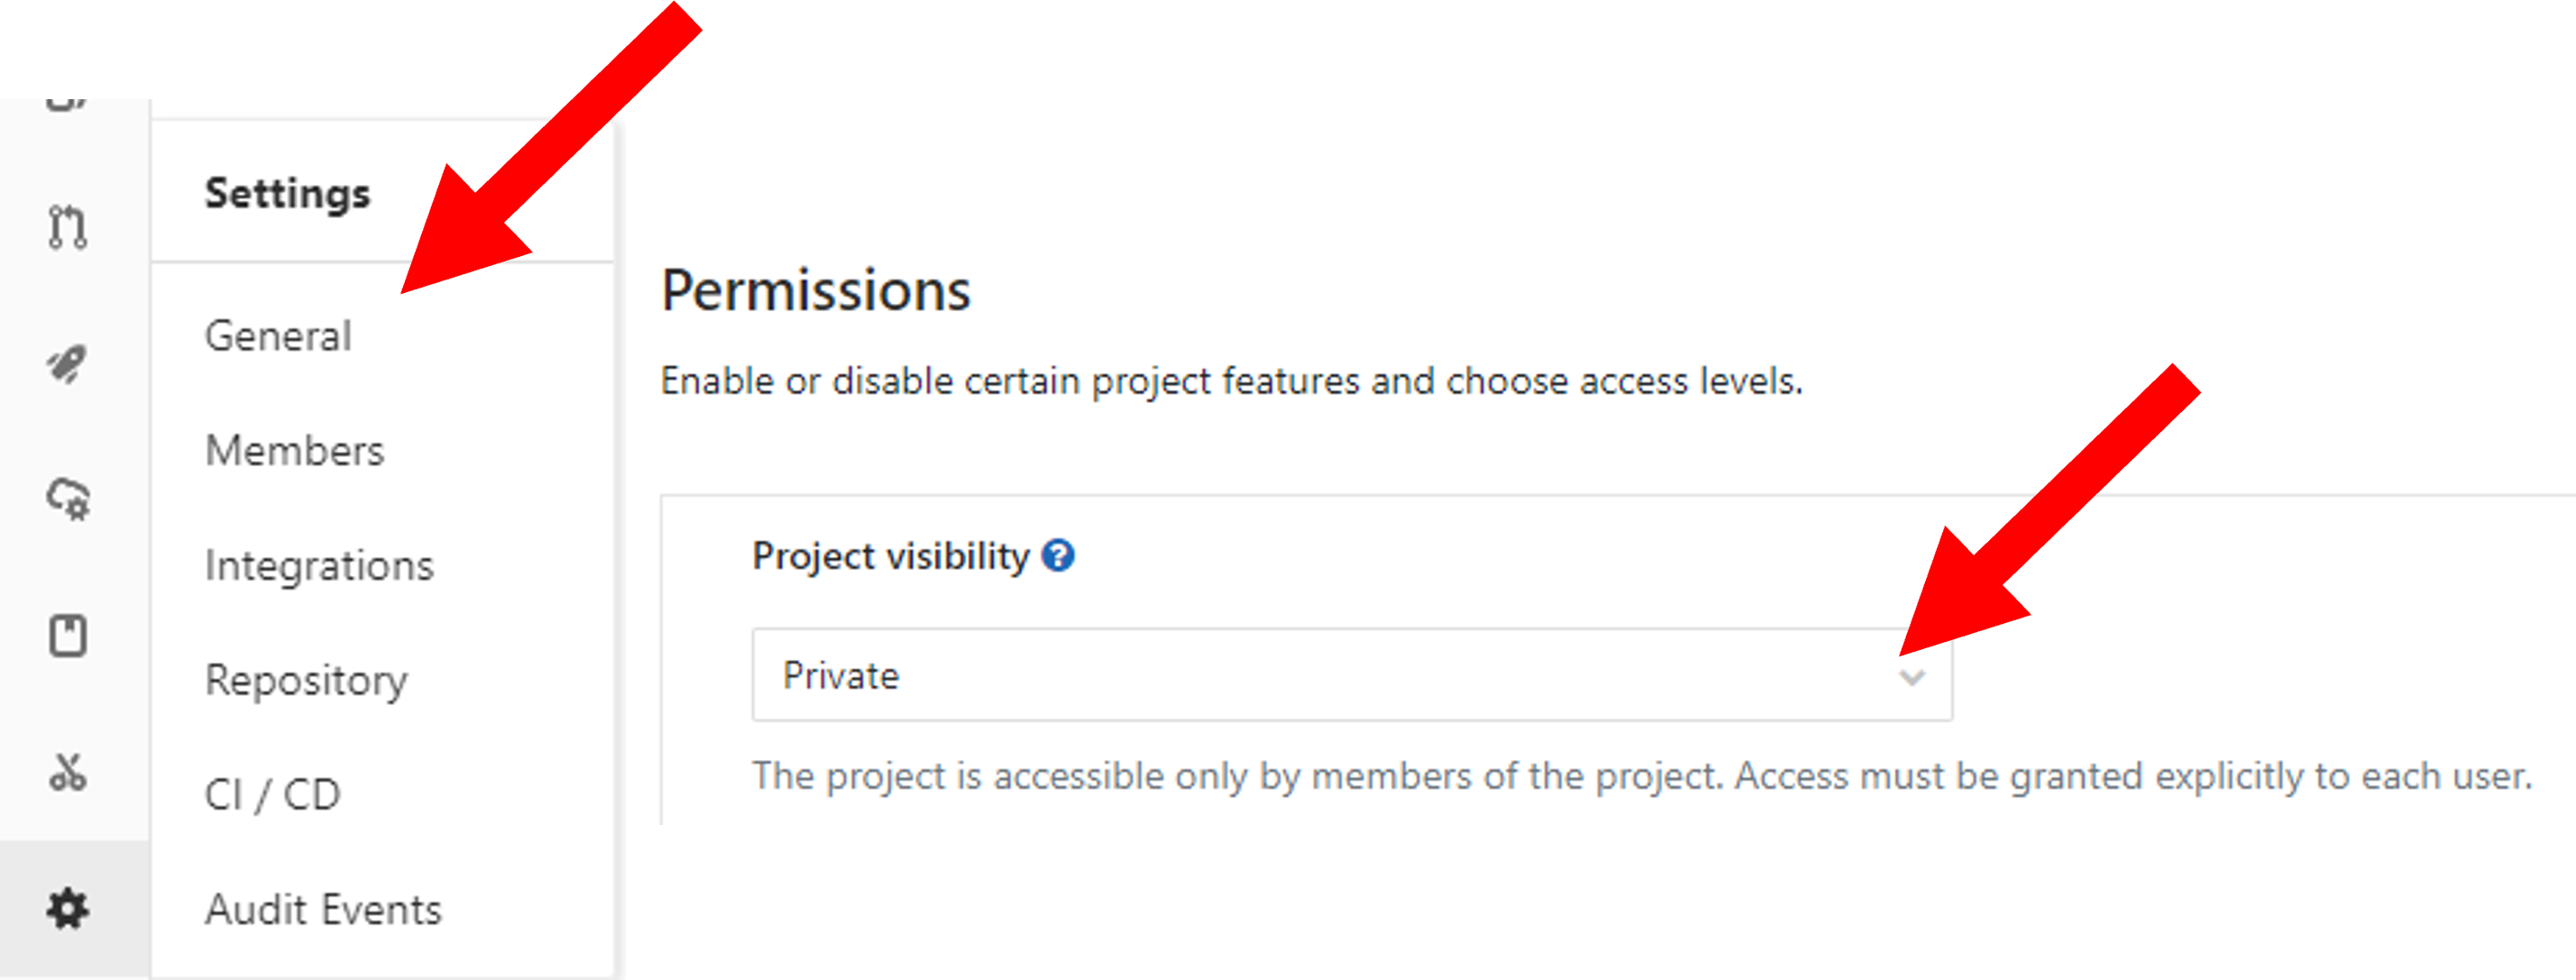
You can change the visibility of your task at any time under permissions.
good as allows easy data sharing
Something to bare in mind if you are collecting protected data
So we have created a basic experiment, pushed it online and learnt about how we could share it.
But what if we want something more complex?
Let’s talk about some other types of responses we can get and how these can make our experiment more flexible.